


The way to make a nice and legal signature is very simple, just follow this tutorial you will get this result

First we are gonna make a backrgound for the signature
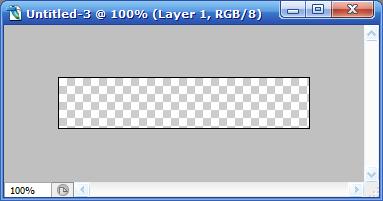
Step 1. Make a new document in Photoshop (ctrl+n) with the sizes 250 x 50 and a transparant background.
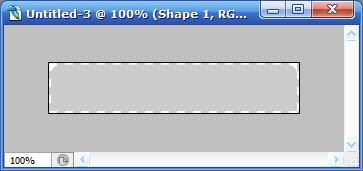
Rectangle Color I used: #d5d5d5
Step 2. Make a with your ’ Rounded Rectangle Tool ‘ a rectangle like i did below.
Before you give the rectangle ‘ Blending Options ‘ right click on the layer ‘ Rounded Rectangle Tool ‘ and click ‘ Group into Smart Object ‘ and than right click again on the layer and click ‘ Rasterize Layer ‘. Take this Blending Options.
Inner Glow Color I used : #3ea9da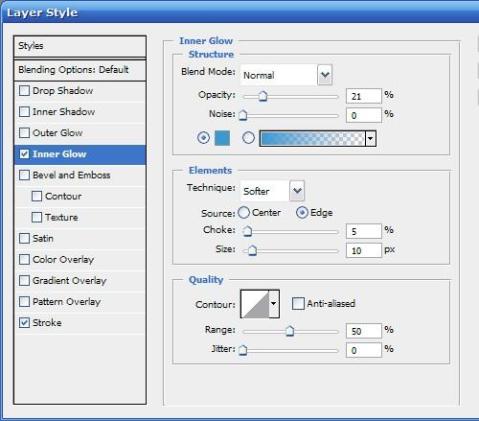
Stroke Color I used : #adadad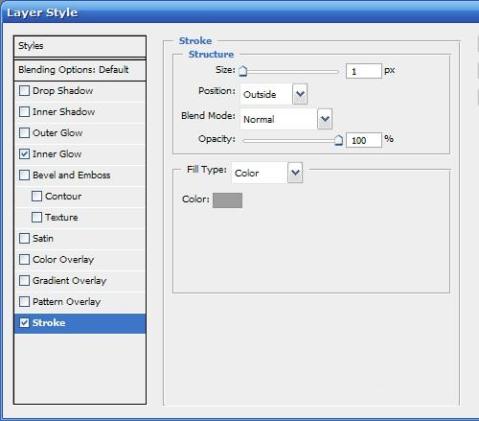
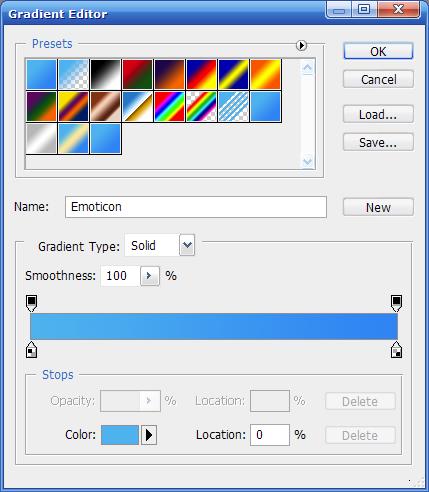
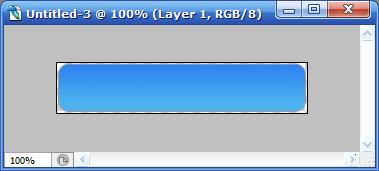
Step 3. Create a new layer ( ctrl+n ) and call it ‘ Blue Fill ‘ now ctrl click on the layer ‘ Rectangle ‘ and take your gradient tool and pull it from top until bottom. Now put your layer style on ‘ Color ‘.
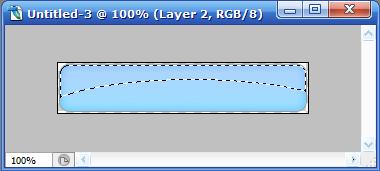
Step 4. Create a new layer ( ctrl+n ) and call it ‘Reflection Signature ‘. Now make with the ‘ Elliptical Marquee Tool ‘ a shape like on the image. Than use your ‘ Gradient Tool ‘ to fill the area with white to transparant. And pull it from top to bottom. After that put the opacity to 67%
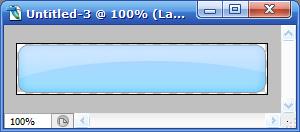
If all the steps are successfully done you should have something like this.
Now we are gonna put some text, images and brushes in the images.
( All the things that I use is downloadable )
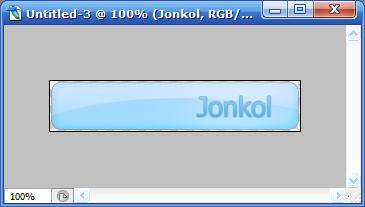
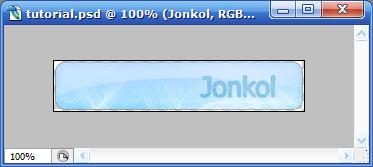
Step 5. Where gonna add some text to the signature. I used the text ‘ Jonkol ‘ with the color #36a7dc and font ‘ Tahoma ‘. Place the text with a size of 27,06 pt in the right under corner.
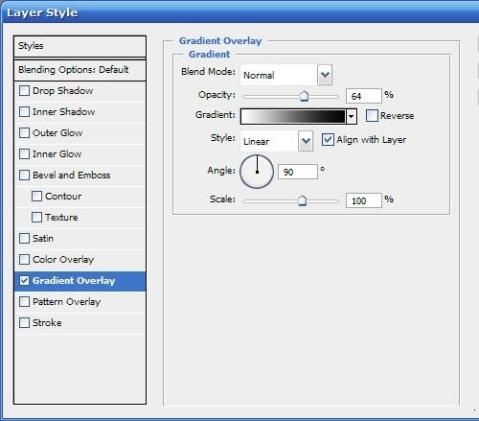
Now go to ‘ Blending Options ‘ and take the styles as on the images.
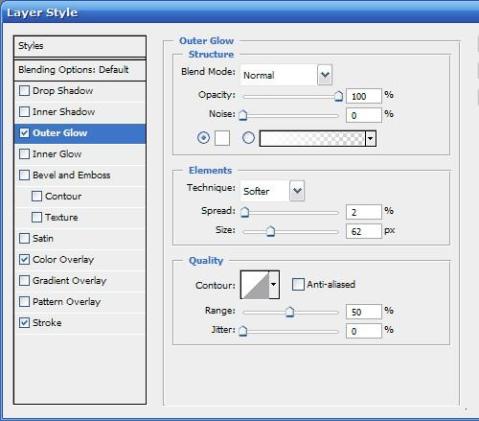
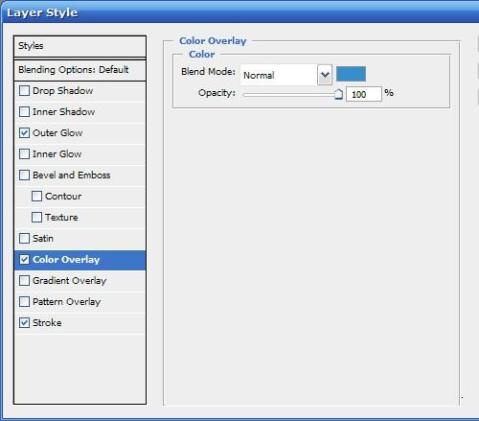
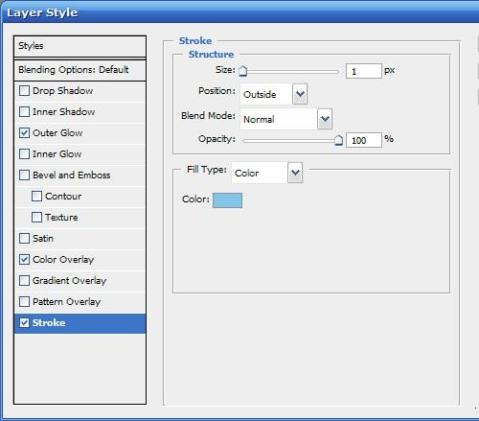
If you have done it right it should look like this.
The thing we are gonna use is the Jonkol Brush Download The Brush
Step 6. Create a new layer ( ctrl+n ) name it ‘ Brush ‘ and load the brush into your brush presets.
Take the color white and ctrl+click on the layer ‘ Rectangle ‘ and brush a peace of the Rectangle.
Now you have to change the ‘ Blending Options ‘ of the layer brush as below. After that right click on the layer ‘ Brush ‘ and click ‘ Group into Smart Object ‘ and than right click again on the layer and click ‘ Rasterize Layer. Put the ‘ Blending Change ‘ on ‘ Overlay ‘ finally put the opacity on 80%.
For a real nice and personal signature you can add an picture of something or someone.
I’m gonna add an ‘ Tux G2 ‘ to my signature, you can add an other picture to your own signature.
Step 7. Take a picture of something a drag it into your palette. Now resize your personal added pic as much as needed to fit correctly into you Rectangle.( As shown below ) And you should have something like this.


No comments:
Post a Comment